Manual
Installation - SSMS
If
you want to manually install Installation Instruction
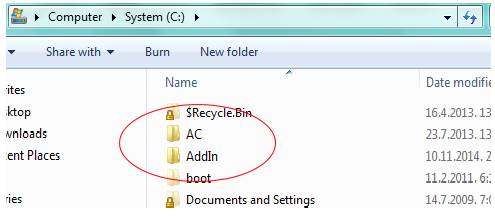
1. Create folder for add-In anywhere on your computer (in our case under C:\AddIn)
2. Paste VSDT_AddIn.zip in newly created map
3. Unpack VSDT_AddIn.zip
4. Navigate to the path:
C:\Users\USER.name\AppData\Roaming\Microsoft\MSEnvShared\AddIns
where
USER.name is your user name used to login to
computer
In case you
cannot find MSEnvShared or AddIns just
create then.
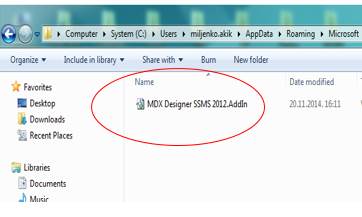
This is location
where SSMS looks for AddIns. SSMS is not like Visual
Studio
so you cannot specify a path where AddIn will be
installed.
5. Paste MDX Designer SSMS 2012.AddIn file in directory
6. Edit file with notepad
7. Find line
<Assembly> Oreus.MdxDesigner.dll</Assembly>
and in front of Oreus add your absolute path
c:\AddIn\
so the line should look like:
<Assembly>C:\AddIn\Oreus.MdxDesigner.dll</Assembly>
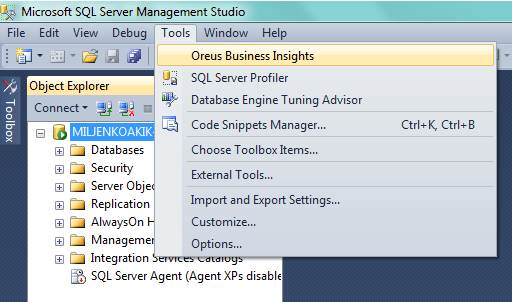
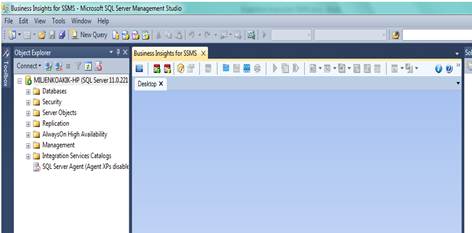
8. Start SQL Server Mangement Studio
9. Select menu Tools and from drop-down menu select Oreus Business Insights menu item
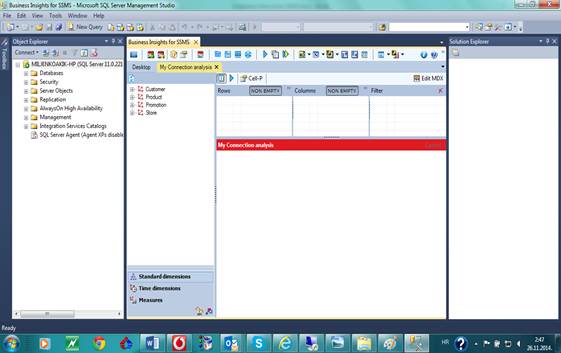
10. MDX Designer tab appears
11. Select Designer icon with yellow cube, this one will allow you to define your
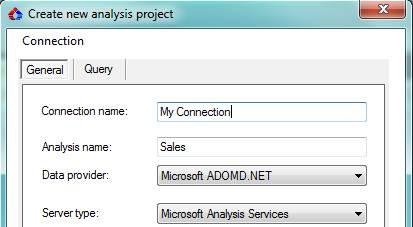
12. Dialog appears
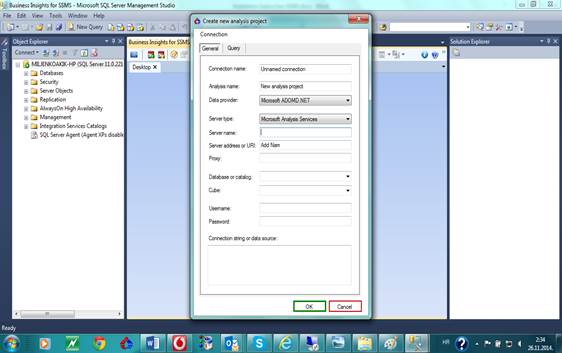
13. Write your server name, and select drop arrows and wait dialog to brows your databases and latter
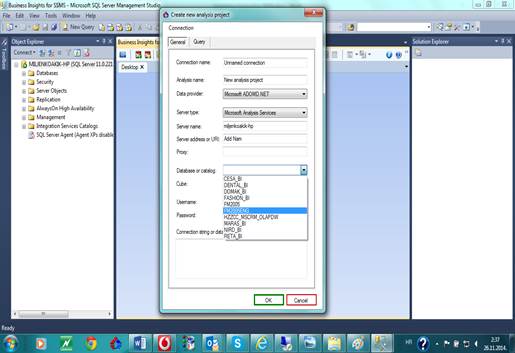
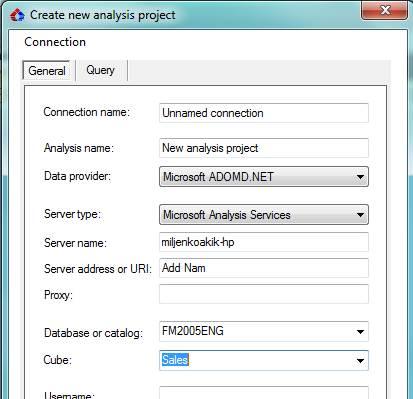
14. Now, before you press OK, name your connection and as well designer that will be creates. Let us say that will give names lke:
name My Conenction
analysis name Sales
15. Now, before you press OK, select Connections menu at the top of the dialog to save your connection
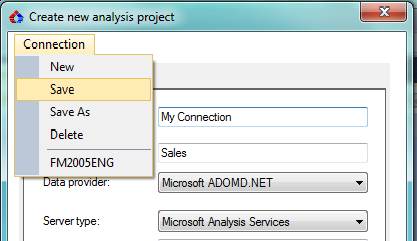
16. Select OK
17. MDX Designer appears